
Running TrueNAS in VirtualBox is a great way to test configurations, experiment with ZFS pools, or learn the TrueNAS UI before deploying on real hardware. As of February 2026, the latest stable version is TrueNAS 25.10.2.1 (Goldeye), with TrueNAS 26 beta planned for April 2026.
VM Settings
- Type: BSD, FreeBSD (64-bit)
- RAM: 8 GB minimum (ZFS needs memory)
- CPU: 2+ cores
- Disk 1: 16 GB (boot drive)
- Disk 2-4: Create additional virtual disks for your ZFS pool (e.g., 3x 20 GB for a RAIDZ1)
- Network: Bridged adapter (so TrueNAS gets its own IP on your LAN)
Important VirtualBox Settings
Under System > Processor, make sure to enable PAE/NX. Under System > Acceleration, enable VT-x/AMD-V and Nested Paging.
For the disk controller, use AHCI (not IDE) for better performance and compatibility.
Note: If you’re on an AMD system and get a VERR_SVM_IN_USE error, you may need to unload the KVM modules first — see my post on VirtualBox AMD-V fix.
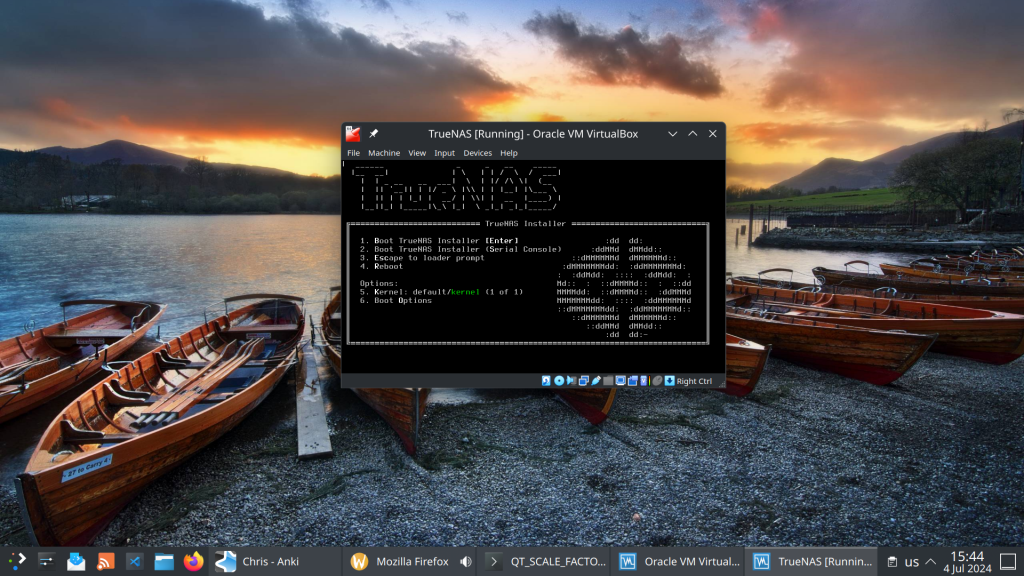
Installation
- Download the TrueNAS 25.10 ISO from truenas.com
- Mount the ISO in VirtualBox’s optical drive
- Boot the VM and follow the installer
- Install to the 16 GB boot disk
- Remove the ISO and reboot
After Installation
Once TrueNAS boots, it will display the web UI address on the console. Open it in your browser and create your ZFS pool using the additional virtual disks.
This setup is perfect for testing pool configurations, snapshots, replication, and apps before committing to production hardware.
