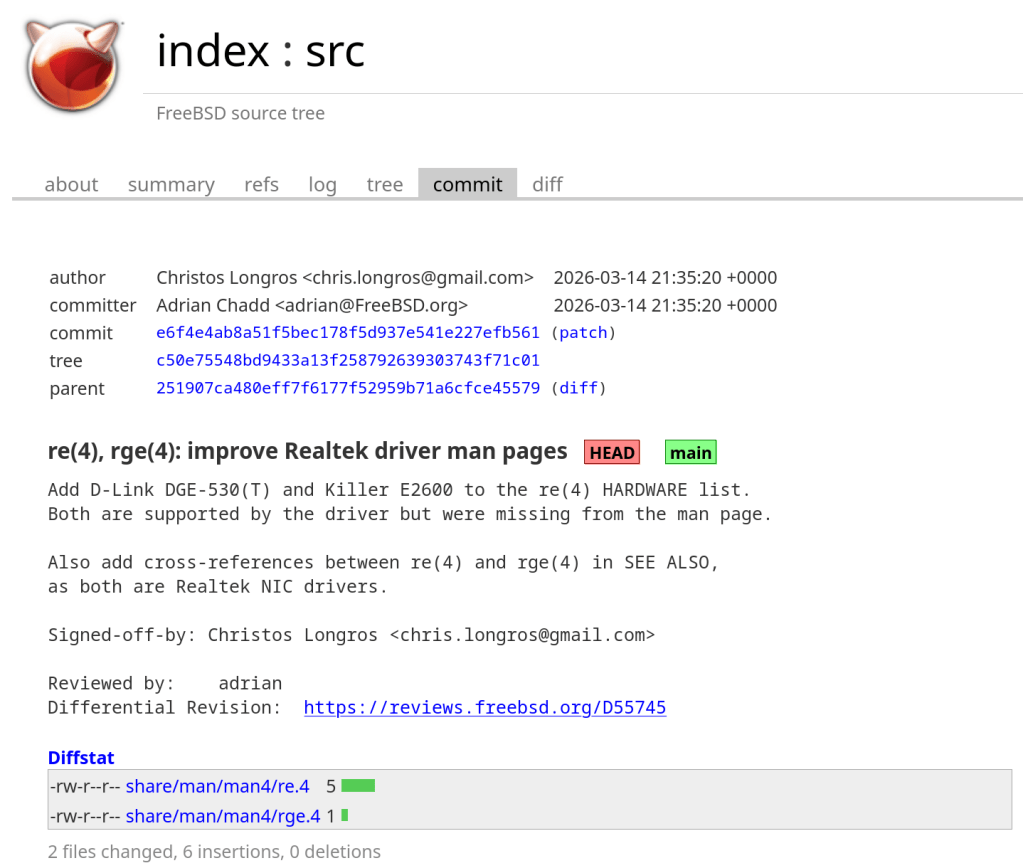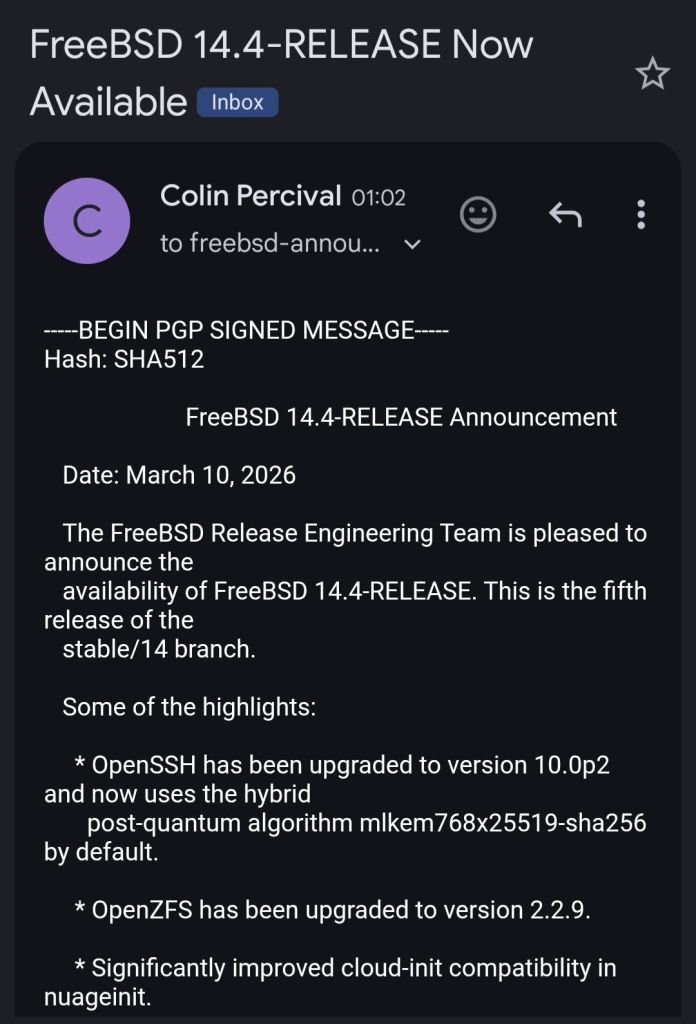





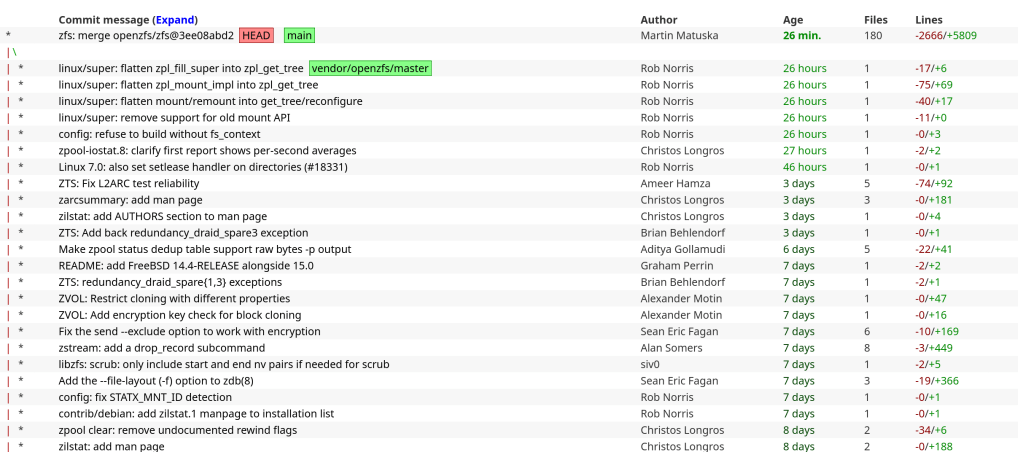
https://cgit.freebsd.org/src/commit/?id=80aae8a3f8aa70712930664572be9e6885dc0be7
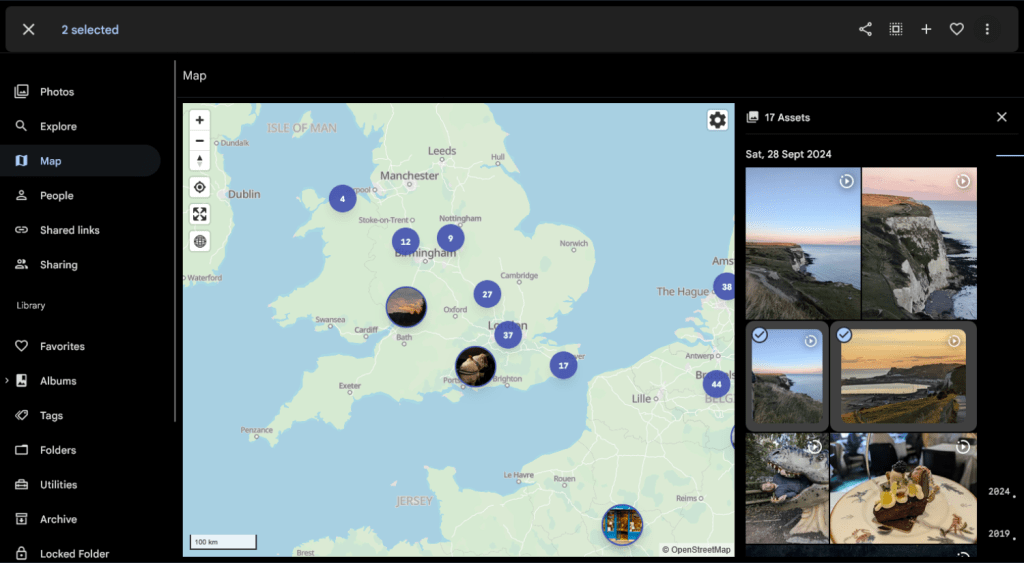
schema-check: a new immich-admin commandMap side panel (web)
Pick album cover (mobile)
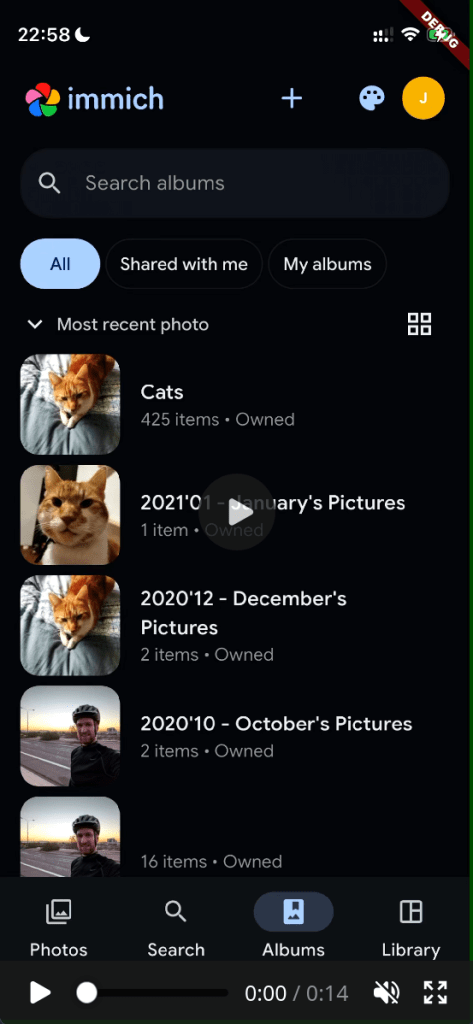
Shared link slugs (mobile)
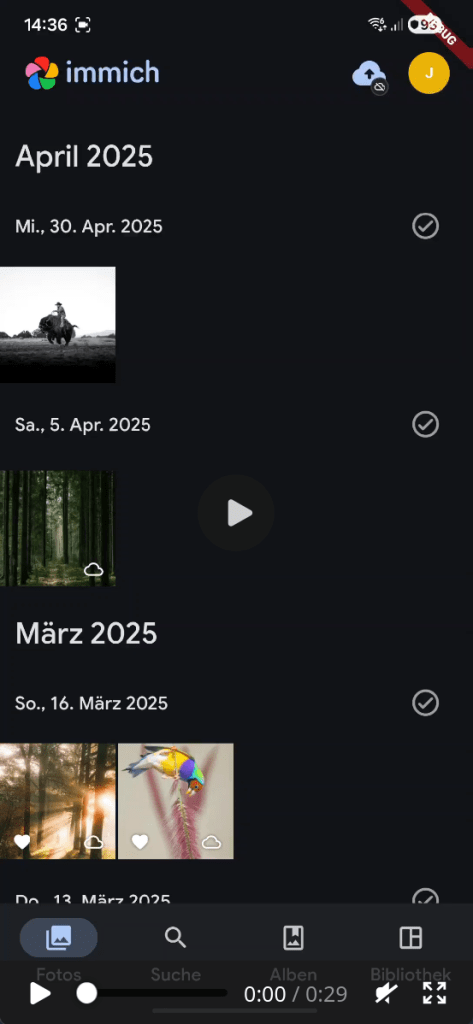
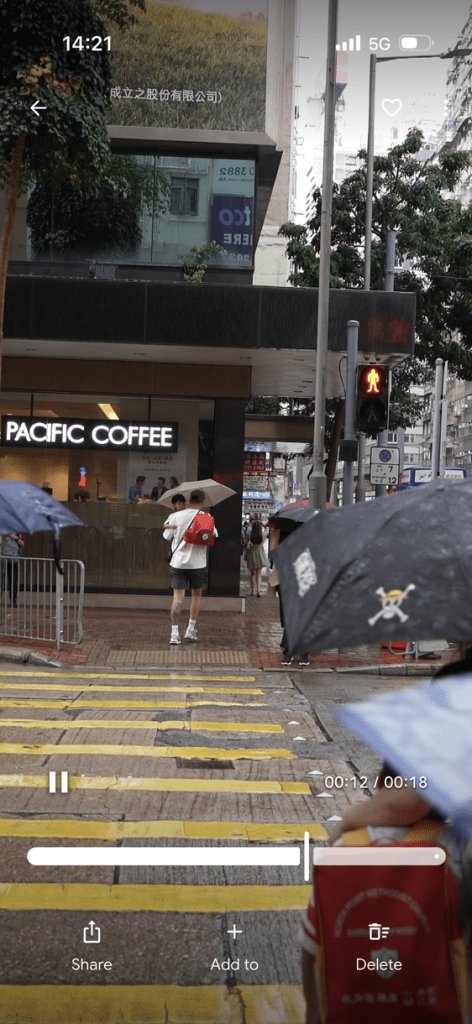
The asset viewer now uses a gradient for actions, and video controls have been restyled
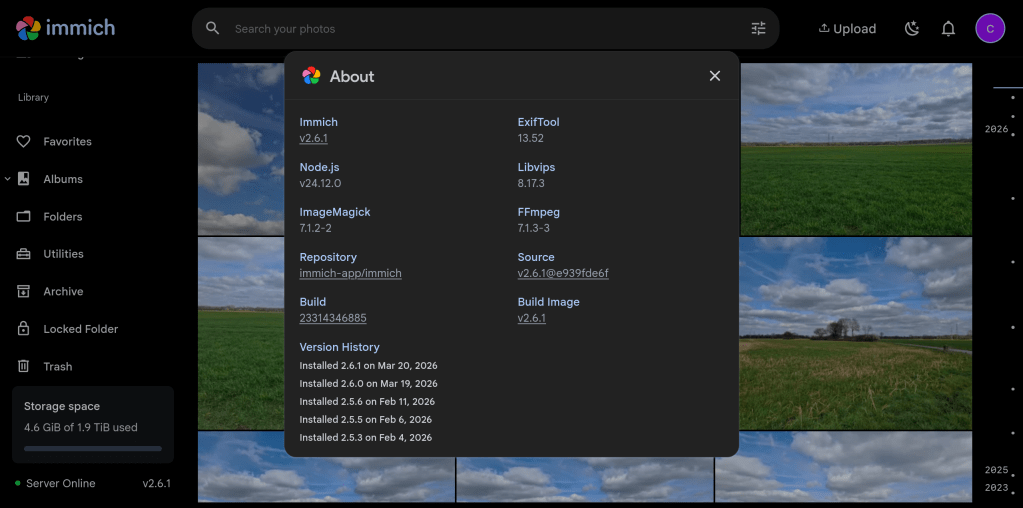
Note: 1.96.0 and 1.96.1 were release candidates intended for testing only.
tailscale dns query|status command supports --json flag to return JSON output.tailscale wait [flags] command waits for Tailscale resources to become available for binding.tailscale ip command supports --assert=<specific-ip-address> flag to assert that one or more of the node’s IP addresses matches the specified IP address.tailscale version --track and tailscale update --track support release-candidate flag to check for and update to release candidate builds.tailscaled_peer_relay_endpoints gauge user metrics are available for Tailscale Peer Relays.AuthKey system policy applies only when a user is not in a logged in state.systray application on startup using autostart file with the tailscale configure systray --enable-startup=freedesktop command.node:osVersion attribute.“Over 30 years of ‘FreeBSD’ commit activity and contributor growth. Includes daily commit counts and new committer data extracted from the cloned git repository (1993-2026), plus ‘Phabricator’ signup statistics (2013-2026). Contains no personal data – only aggregated counts. Useful for time series analysis, growth modeling, and studying open source community dynamics.”
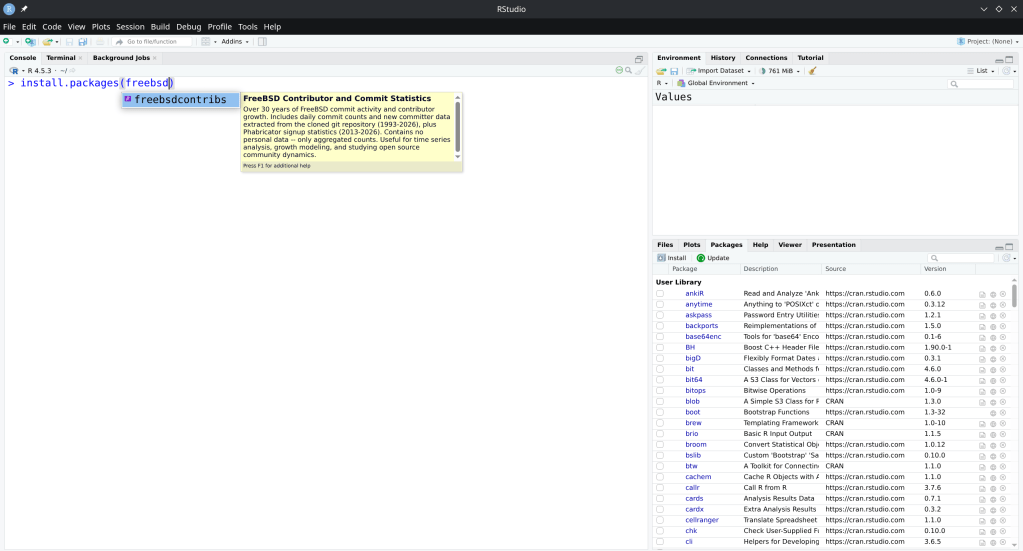
https://cran.r-project.org/web/packages/freebsdcontribs/index.html
If you run a FreeBSD VM under QEMU with -nographic and the terminal goes silent right after the kernel modules load — no login prompt, no panic, just nothing — the VM hasn’t frozen. It booted successfully. The issue is that kernel output is going somewhere you can’t see.
This post explains why that happens and how to fix it properly.
FreeBSD supports two console backends: vidconsole (virtual VGA framebuffer) and comconsole (serial port, ttyu0). Official VM disk images from download.freebsd.org default to vidconsole — a reasonable choice for hypervisors that expose a graphical display.
QEMU’s -nographic mode suppresses the display window and maps your terminal to the VM’s serial port instead. The problem is the FreeBSD kernel is unaware of this. It continues writing to vidconsole, which effectively goes nowhere in a -nographic session.
The bootloader, however, outputs to both VGA and serial simultaneously. That’s why you see the FreeBSD logo, the boot menu, and the kernel module lines — all of that is bootloader output. The moment the kernel takes control, it drops to vidconsole only, and your terminal goes quiet.
The handoff point is visible in the output:
/boot/kernel/zfs.ko size 0x788828 at 0x2795000
/etc/hostid size=0x25
/boot/entropy size=0x1000
Everything after that last line is the kernel running — login prompt included — just on a VGA console you can’t access from a -nographic session.
To get through without modifying the image, interrupt autoboot when you see the countdown. Press Space to pause it, then at the loader prompt:
set console="comconsole"
boot
This tells the kernel to route console I/O through the serial port for this boot only. You’ll see full kernel output and get a working login prompt.
Once inside the VM, make the change persistent:
echo 'console="comconsole"' >> /boot/loader.conf
From the next boot onward, the kernel will direct all console output to ttyu0 automatically. No more intercepting the bootloader, no more silent boots. This is the right fix if you’re using this image regularly for development or testing.
If you don’t need to observe the boot sequence at all, daemonize the VM and access it over SSH:
qemu-system-x86_64 \
    -enable-kvm \
    -m 4G \
    -smp 4 \
    -hda ~/vms/FreeBSD-16.0-CURRENT-amd64-zfs.qcow2 \
    -display none \
    -daemonize \
    -nic user,hostfwd=tcp::2222-:22
Give it roughly 30 seconds to reach multi-user mode, then:
ssh -p 2222 root@localhost
When you’re done:
kill $(pgrep qemu-system)
This approach sidesteps the console issue entirely and works well for quick test sessions where sshd is already enabled in the image.
The bootloader’s dual-output behavior is what makes this particularly deceptive. Because you do get output right up to the kernel handoff, it’s natural to assume something went wrong during kernel initialization — a ZFS import failure, a module panic, something with entropy. In practice, none of that. The system is fully operational, just talking to a VGA display you have no visibility into.
Kernels built with BOOT_COMCONSOLE in their config, or images specifically targeting headless/serial environments, won’t exhibit this. The stock VM images are built for general-purpose use, so VGA is the sensible default — it just doesn’t play well with -nographic out of the box.
| Goal | Solution |
|---|---|
| Fix for one boot | Press Space → set console="comconsole" → boot |
| Fix permanently | echo 'console="comconsole"' >> /boot/loader.conf |
| Skip console, SSH only | -display none -daemonize + SSH after ~30s |
Adding console="comconsole" to /boot/loader.conf is the one-time fix that makes FreeBSD under QEMU behave predictably for all subsequent work. After that, -nographic sessions give you full console output from boot to login with no intervention required.
The push for a modern graphical installer in FreeBSD has been ongoing for a while. With FreeBSD 15.0 released in December 2025, many expected it to ship with a graphical installation option — but it didn’t make the cut. The good news: it’s coming in FreeBSD 15.1.
FreeBSD 15.0 shipped with the traditional bsdinstall text-based installer. While functional, it’s showing its age — the text-based dialogs work fine for experienced admins, but they’re a barrier for adoption compared to what Linux distros offer.
According to the FreeBSD Q4 2025 status report and the Foundation’s laptop project updates, FreeBSD 15.1 will include:
This is part of the FreeBSD Foundation’s broader laptop usability initiative, which has received over $750,000 in funding throughout 2025 and continues into 2026. The project covers Wi-Fi, graphics drivers, audio, power management, and installation experience.
FreeBSD has always been technically excellent but lagged behind Linux in user-friendliness. A graphical installer with KDE won’t change the OS itself, but it removes one of the biggest friction points for new users. Combined with improvements like PkgBase, s2idle sleep support, and the new SPMC power management driver, FreeBSD is becoming more approachable without sacrificing what makes it great.
For those of us who’ve been installing FreeBSD since the sysinstall days, it’s exciting to see the project evolve while keeping its identity. The FreeBSD 15.1 release schedule is worth keeping an eye on.
A couple of weeks ago I opened two more pull requests to the OpenZFS project — PR #18303 and PR #18300. One adds a man page for a long-undocumented tool; the other removes stale flags from a core command that should never have been there in the first place.
My earlier OpenZFS contributions were on the C side: error handling improvements for zpool create (PRs #18184, #18213, and #18268 — ENXIO handling, device-specific error reporting, and an EDOM error handler). These new PRs continue in the same spirit of cleaning up rough edges, though from different angles.
zilstat has existed in OpenZFS for some time, but it was effectively undocumented — no man page, nothing in the official documentation. The tool gives you per-pool ZIL (ZFS Intent Log) statistics: commit counts, write sizes broken down by type, and itx classifications across indirect, copied, and needcopy writes.
If you are trying to understand whether a SLOG device is actually doing useful work, or why synchronous write latency is higher than expected, zilstat is exactly the right tool. The lack of a man page meant most users did not know it existed, and those who found it had to reverse-engineer its output from the source.
PR #18303 adds a proper man page covering the synopsis, description, output fields, and usage examples — so the tool is now actually discoverable and usable by anyone consulting the documentation.
This one is a code change, and a satisfying one. zpool clear had been quietly accepting three flags — -F, -n, and -X — that it had no business accepting. These are rewind flags inherited from OpenSolaris, where they make sense in the context of zpool import: when importing a pool that is not yet loaded, you can select a specific transaction group to rewind to.
But zpool clear is a completely different situation. It operates on an already-imported pool whose in-memory state is ahead of what is on disk. Rewinding transactions there would require force-exporting the pool first — it simply cannot work. The flags were vestigial, undocumented, and misleading to anyone who stumbled across them in the usage string.
PR #18300 removes -F, -n, and -X from zpool clear entirely. The rewind policy passed to zpool_clear() is now always ZPOOL_NO_REWIND. The usage string is cleaned up to match. This closes issue #13825, which had been open since 2022. The commit was reviewed by Alexander Motin (TrueNAS) and Brian Behlendorf (LLNL), and tested on FreeBSD 16.0-CURRENT.
Both of these PRs are about the same underlying problem: a gap between what the codebase does and what users can reliably know or rely on. An undocumented tool and a command silently accepting flags that do nothing are both forms of technical debt that erode trust in the tooling over time. Removing the wrong thing is just as valuable as adding the right thing.
I will keep working through the OpenZFS codebase where I find similar rough edges. If you have spotted something undocumented or suspect a flag that does not do what it claims, opening an issue — or better yet, a PR — is the way to move it forward.
This is a cautionary tale about how I nearly lost everything on my external SSD because of a moment of carelessness.
I wanted to create a bootable USB with Ventoy to run a Linux or FreeBSD ISO. Simple enough — I’ve done it a hundred times. The problem was that I also had my external SSD connected at the same time.
I somehow selected the wrong disk. Instead of formatting the USB stick, I formatted my external SSD. Just like that — all my data was gone.
That sinking feeling when you realize what you’ve done is something I wouldn’t wish on anyone.
Thankfully, I was able to recover most of my data using PhotoRec, a free and open-source data recovery tool (currently at version 7.2, with 7.3 in beta as of January 2026). PhotoRec ignores the filesystem and goes after the underlying data, so it works even after formatting. It can recover over 480 file formats.
Install it (it comes with TestDisk):
# Arch Linux
sudo pacman -S testdisk

# FreeBSD
pkg install testdisk
Run it:
sudo photorec /dev/sdXPhotoRec will scan the disk and recover files into a directory of your choice. It recovered most of my files, though filenames and directory structure were lost — everything gets sorted by file type.
lsblk before any destructive operation. Verify the disk size and partitions match what you expect. Ventoy (currently at v1.1.10) shows disk names and sizes — take the extra second to verify.Don’t be like me. Disconnect your drives, check twice, and back up your data. Your future self will thank you.
Running TrueNAS in VirtualBox is a great way to test configurations, experiment with ZFS pools, or learn the TrueNAS UI before deploying on real hardware. As of February 2026, the latest stable version is TrueNAS 25.10.2.1 (Goldeye), with TrueNAS 26 beta planned for April 2026.
Under System > Processor, make sure to enable PAE/NX. Under System > Acceleration, enable VT-x/AMD-V and Nested Paging.
For the disk controller, use AHCI (not IDE) for better performance and compatibility.
Note: If you’re on an AMD system and get a VERR_SVM_IN_USE error, you may need to unload the KVM modules first — see my post on VirtualBox AMD-V fix.
Once TrueNAS boots, it will display the web UI address on the console. Open it in your browser and create your ZFS pool using the additional virtual disks.
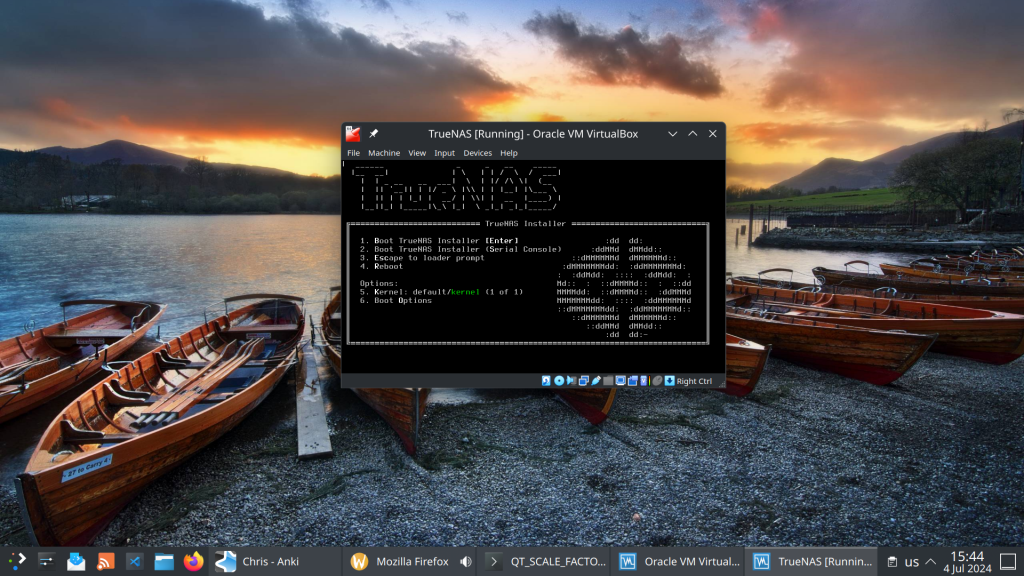
This setup is perfect for testing pool configurations, snapshots, replication, and apps before committing to production hardware.
Using AI to generate Anki flashcards has evolved rapidly over the past couple of years. Here’s a look at how it started and where we are in 2026.
The first to provide an Anki flashcard-generating ChatGPT prompt was Jarret Lee in this Anki forums post: Casting a Spell on ChatGPT: Let it Write Anki Cards for You. The idea was simple — give ChatGPT a structured prompt and it returns properly formatted flashcards you can import.
Shortly after, the AnkiBrain add-on was developed, integrating AI directly into Anki’s interface. This made it possible to generate cards without leaving the application.
The ecosystem has exploded. Here are the main tools available today:
I still prefer writing my own cards for deep learning, but AI-generated cards are great for:
The key is to always review AI-generated cards before adding them to your collection. Bad cards lead to bad learning.
The latest episode of TrueNAS Tech Talk (T3) — Episode 56 — dropped on March 6, 2026, and it’s packed with news that every TrueNAS homelab enthusiast and sysadmin will want to hear. Hosts Kris Moore and Chris Peredun (the TrueNAS HoneyBadger) cover the upcoming TrueNAS 26 release schedule, a deep dive into the new dataset tiering feature, and tackle eight viewer questions.
TrueNAS 26: A (Tentative!) Release Timeline
The big headline this week is that Kris and Chris finally lay out the tentative roadmap from the first TrueNAS 26 BETA release all the way through to the .0 general availability. If you’ve been waiting to know when you can get your hands on the next generation of TrueNAS software, this episode gives you the clearest picture yet. No more codenames, no more decimal versioning — as the team confirmed back in Ep. 52, TrueNAS is moving to a clean annual release cycle, and 26 is the first major fruit of that shift.
Dataset Tiering: Hybrid Storage Gets Smarter
One of the standout features coming to TrueNAS 26 is dataset tiering — the ability to mix fast flash and spinning-disk pools and automatically tier datasets (or shares) between them. This is an Enterprise-tier feature, meaning it won’t land in the Community Edition, but the architecture is fascinating for anyone interested in how ZFS and TrueNAS manage data placement at scale. Since this is implemented at the TrueNAS layer rather than directly in OpenZFS, pools remain compatible with standard OpenZFS if you ever need to migrate away, though some caveats may apply.
For those of us running pure Community Edition homelabs — Docker stacks, S3-compatible storage, and all — it’s still a great signal of the direction TrueNAS engineering is heading.
Eight Viewer Questions
As always, Kris and Chris close out the episode with a batch of community questions — likely touching on storage configuration, upgrade paths, and follow-up on ZFS AnyRaid and Spotlight search (truesearch) from recent episodes.
Why This Episode Matters for Homelab Users
If you’re self-hosting on TrueNAS Scale — running Docker containers, managing snapshots over Tailscale, or experimenting with S3-compatible backends like RustFS or Garage — TrueNAS 26 is a significant milestone. The annual cadence promises more predictable upgrade windows, and features like dataset tiering give a window into where the platform’s storage smarts are heading.
Watch the full episode on the TrueNAS blog or on YouTube.
T3 Tech Talk is a weekly podcast from the TrueNAS team. New episodes drop every Thursday.
So …
If you’re trying to run VirtualBox on a Linux host with an AMD CPU and you get this error:
VirtualBox can't enable the AMD-V extension. Please disable the KVM kernel extension, recompile your kernel and reboot (VERR_SVM_IN_USE).The problem is that KVM has claimed the AMD-V virtualization extension, and VirtualBox can’t use it at the same time.
This issue has become more common with Linux kernel 6.12 and later. The KVM modules are now loaded more aggressively at boot, even if you’re not using KVM. If you recently updated your kernel (e.g., to 6.14+ on Arch Linux) and VirtualBox stopped working, this is likely the cause.
You don’t need to recompile anything. Just unload the KVM modules:
sudo modprobe -r kvm_amd
sudo modprobe -r kvm
Then start your VirtualBox VM — it should work.
If you want KVM to never load automatically (so VirtualBox always works), blacklist the modules:
echo "blacklist kvm_amd" | sudo tee /etc/modprobe.d/blacklist-kvm.conf
echo "blacklist kvm" | sudo tee -a /etc/modprobe.d/blacklist-kvm.confIf you need KVM again (e.g., for QEMU), simply reload the modules:
sudo modprobe kvm
sudo modprobe kvm_amd
You can only use one hypervisor at a time — VirtualBox or KVM, not both simultaneously. That’s a hardware limitation of AMD-V/SVM.