
Anki provides the option the self host your own sync server. It is an advanced feature for experienced users.
SYNC_USER1=user:pass anki –syncserver from the command line starts the sync server. If you use a firewall such as ufw you have to adjust the rules to allow IP addresses from 192.168.0.xxx or 192.168.1.xxx with:
ufw allow from 192.168.0.0/24
or
ufw allow from 192.128.1.0/24
Then you get a message like this, indicating a functioning sync server:
Anki starting…
2024-11-16T18:31:41.598515Z INFO listening addr=0.0.0.0:8080

In order to sync your Anki clients towards this server you have to set a URL link to the server’s IP address (in my case 192.168.1.195 => http://192.168.1.195:8080). The server listens to port 8080 as default.

Another option to set a sync server is using a docker container. You can find a sample Dockerfile under the /docs/syncserver path of the git repository: https://github.com/ankitects/anki/tree/main/docs/syncserver
The first step is building the image using:
sudo docker buildx build docs/syncserver/<Dockerfile> –no-cache –build-arg ANKI_VERSION=<version> -t anki-sync-server .
(Please use the <> brackets !!! as well an version available in https://github.com/ankitects/anki/releases, because the script searches through release tags !!!
You should execute this command from the Dockerfile PATH
The build command is deprecated !!! Use buildx)
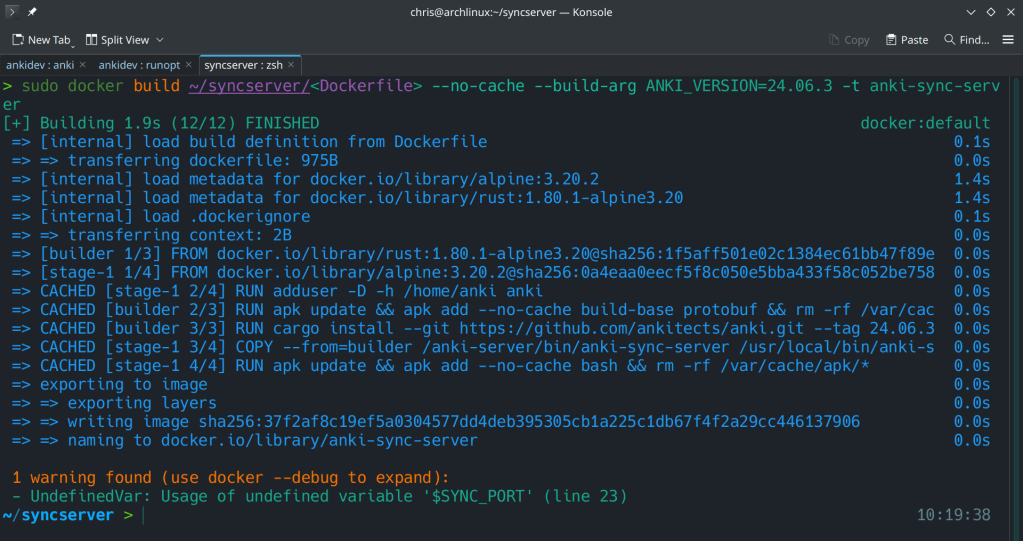
The command at the end should look like this:
sudo docker build ~/syncserver/<Dockerfile> –no-cache –build-arg ANKI_VERSION=24.06.3 -t anki-sync-server
The second step is to run the docker container with:
docker run -d -e “SYNC_USER1=admin:admin” -p 8080:8080 –name anki-sync-server anki-sync-server
You can check the container’s status with sudo docker ps -a

