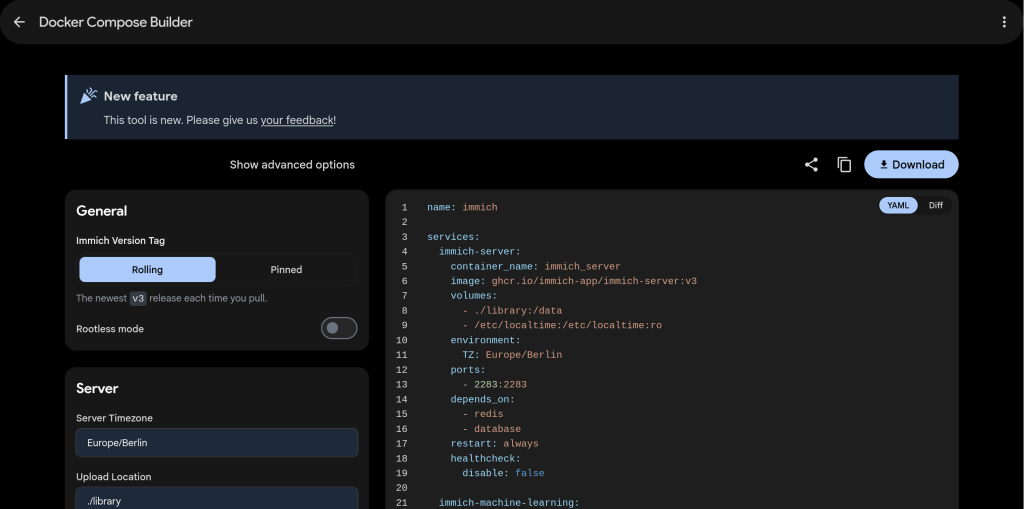
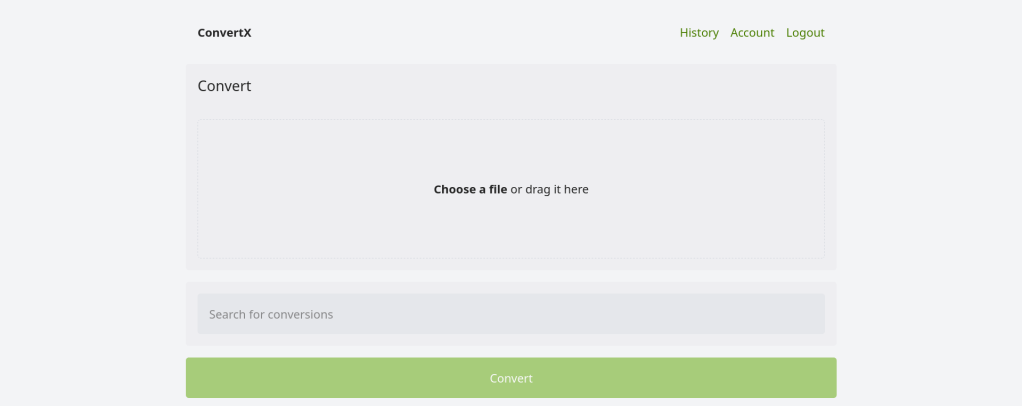
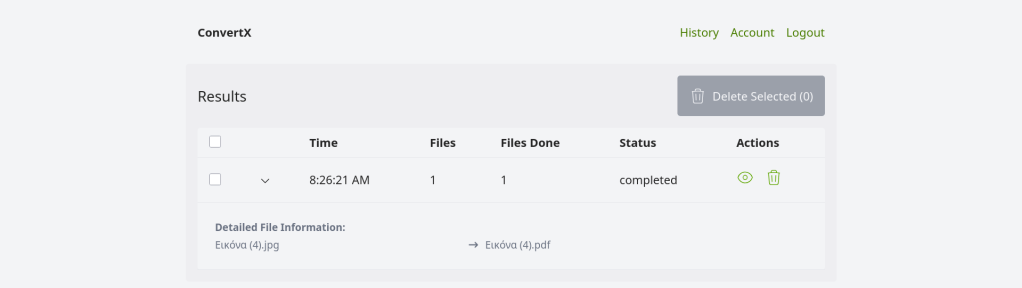
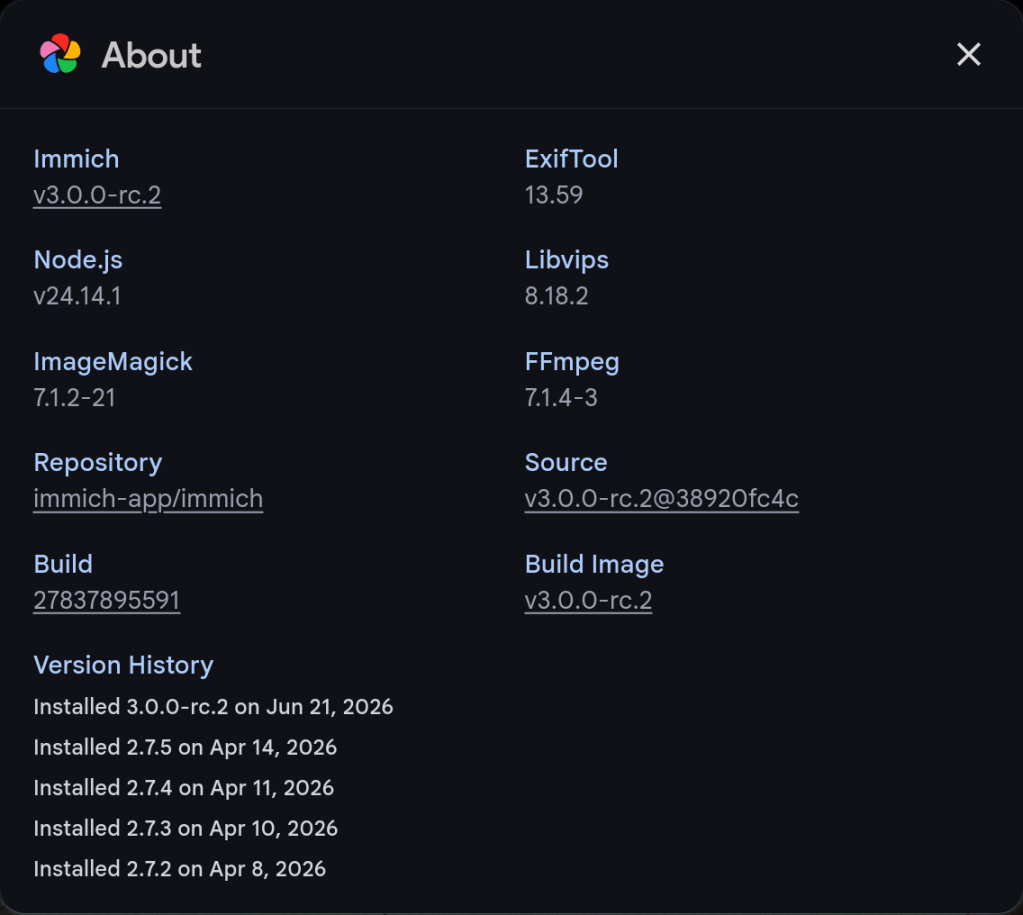
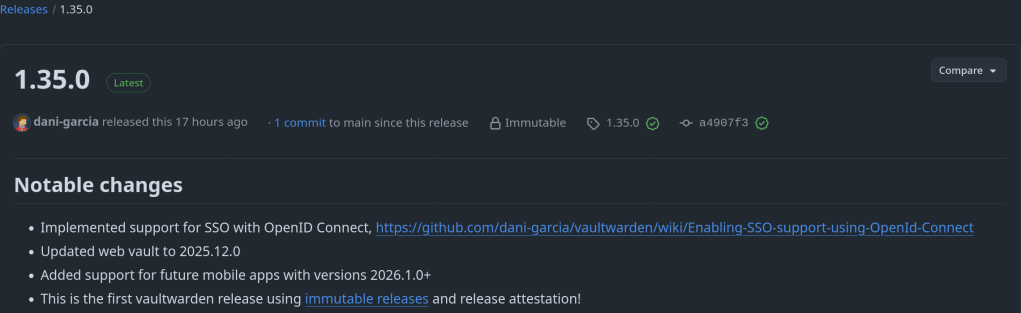
The reason we built this is to try and simplify the process of installing Immich, especially when needing customizations beyond the default compose file that we include in the repository. Using features like hardware acceleration and external libraries, or customizing the installation in various other ways, has always required manual edits based on snippets that are scattered throughout the docs. Along with the separate .env file which has proven unfamiliar to many self-hosters, this has caused plenty of confusion and trouble. The new tool aims to codify these nuances in a way that’s easy to use, giving you a single file that’s ready to go.”
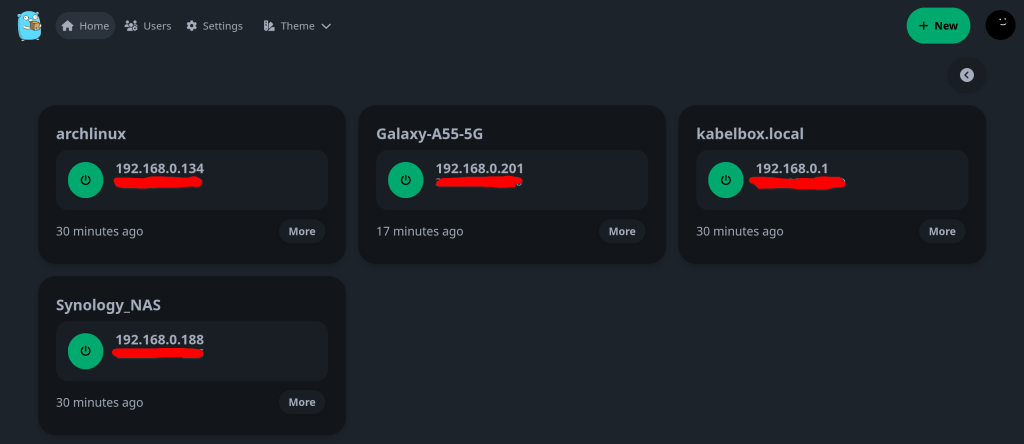
“A simple wake on lan web app written with SvelteKit, Go and PocketBase.“
A very useful docker container that enables easy Wake-On-Lan (WoL) management in a dashboard. I run it in my TrueNAS server so I can wake, suspend and turn-off my LAN devices remotely on command.
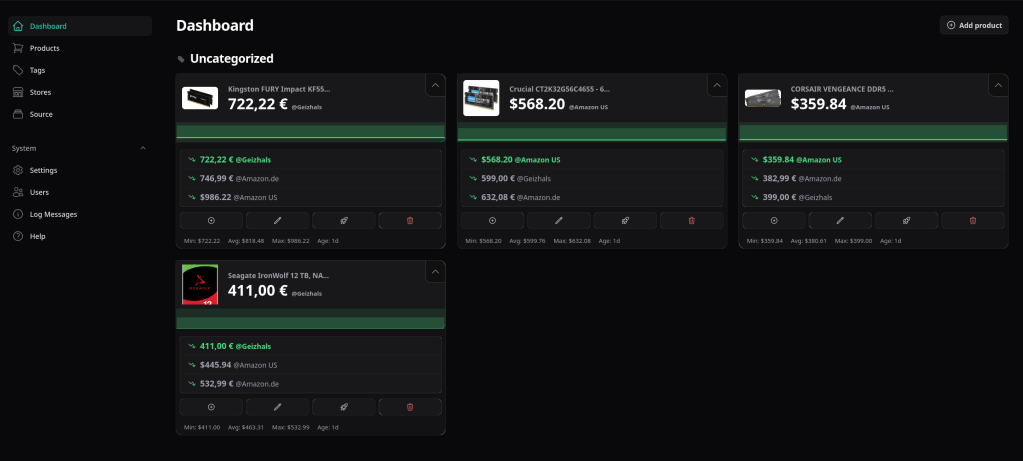
RAM prices are getting high, so I set up a self-hosted price tracking service called PriceBuddy to monitor specific products on Amazon.de, Amazon.com, and Geizhals.
I also built a SeleniumBase scraper to parse data from the Geizhals website.
After years of using Anki for medical school, I finally got tired of relying on AnkiWeb for syncing. Privacy concerns, sync limits, and the occasional downtime pushed me to self-host. The problem? The official Anki project provides source code but no pre-built Docker image. Building from source every time there’s an update? No thanks.
So I built Anki Sync Server Enhanced — a production-ready Docker image with all the features self-hosters actually need.
Why Self-Host Your Anki Sync?
Privacy — Your flashcards stay on your server
No limits — Sync as much as you want
Speed — Local network sync is instant
Control — Backups, monitoring, your rules
What Makes This Image Different?
I looked at existing solutions and found them lacking. Most require you to build from source or offer minimal features. Here’s what this image provides out of the box:
Feature
Build from Source
This Image
Pre-built Docker image
No
Yes
Auto-updates
Manual
Daily builds via GitHub Actions
Multi-architecture
Manual setup
amd64 + arm64
Automated backups
No
Yes, with retention policy
S3 backup upload
No
Yes (AWS, MinIO, Garage)
Prometheus metrics
No
Yes
Web dashboard
No
Yes
Notifications
No
Discord, Telegram, Slack, Email
Quick Start
Getting started takes less than a minute:
docker run -d \
--name anki-sync \
-p 8080:8080 \
-e SYNC_USER1=myuser:mypassword \
-v anki_data:/data \
chrislongros/anki-sync-server-enhanced
That’s it. Your sync server is running.
Docker Compose (Recommended)
For a more complete setup with backups and monitoring:
If you’re using Anki seriously — for medical school, language learning, or any knowledge work — self-hosting your sync server gives you complete control over your data. This image makes it as simple as a single Docker command.
Questions or feature requests? Open an issue on GitHub or leave a comment below.
Immich, the popular open-source, self-hosted photo and video management solution, has launched a community-driven initiative to improve its metadata handling capabilities. Through the new EXIF Dataset project, users can contribute their photos to help train and improve Immich’s EXIF parsing and metadata extraction features.
I recently contributed some of my own photos to the project, and I want to share how easy and straightforward the process is. If you’re an Immich user (or simply an open-source enthusiast), this is a fantastic way to give back to the community.
What is the EXIF Dataset Project?
EXIF (Exchangeable Image File Format) data is the metadata embedded in your photos by your camera or smartphone. This includes information like the camera make and model, date and time, GPS coordinates, lens information, and much more. Immich uses this data extensively to organize your photo library, enable timeline views, power location-based features, and facilitate powerful search capabilities.
The EXIF Dataset project at datasets.immich.app/projects/exif allows community members to contribute photos along with their intact EXIF metadata. This crowdsourced dataset helps the Immich team understand how different cameras and devices encode their metadata, ultimately improving compatibility and parsing accuracy for everyone.
The contribution process is remarkably simple and well-designed. Here’s how it works:
Step 1: Upload Your Photos
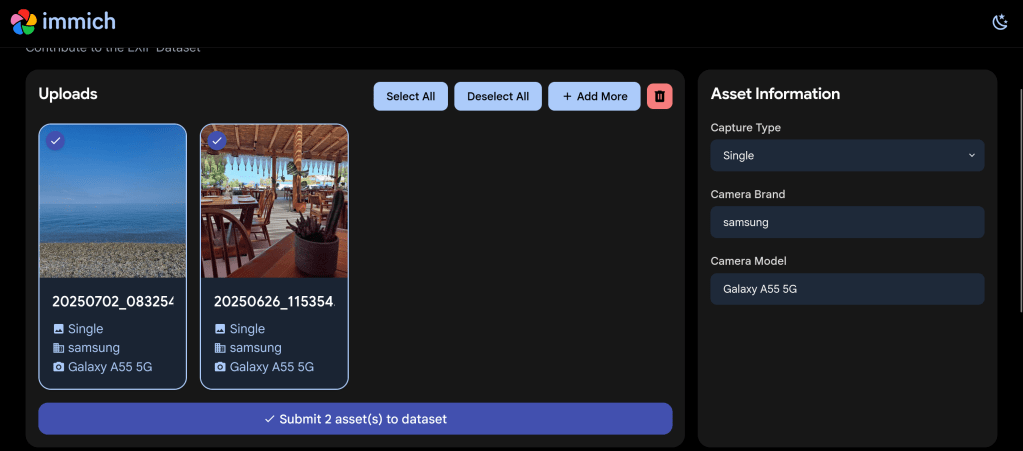
After navigating to the EXIF Dataset project page, you’re greeted with a clean upload interface. I uploaded a couple of photos taken with my Samsung Galaxy A55 5G – a beach landscape shot and a photo from a beachside restaurant.
The clean upload interface showing my first selected photo with its EXIF metadata displayed
The interface immediately displays the extracted EXIF information on the right side, including the capture type (Single), camera brand (Samsung), and camera model (Galaxy A55 5G). This lets you verify that your photos contain the metadata you want to contribute.
Step 2: Select Photos for Submission
You can upload multiple photos at once using the “+ Add More” button. I selected both of my photos for contribution – each showing clearly with a checkmark indicating selection.
Two photos selected and ready to submit to the EXIF Dataset
The interface provides convenient “Select All” and “Deselect All” buttons, as well as a delete option if you change your mind about any uploads.
Step 3: Agree to the CC0 License
When you click “Submit asset(s) to dataset”, a Dataset Agreement dialog appears. This is where the legal side of your contribution is handled transparently.
The Dataset Agreement confirms your photos will be released under the CC0 public domain license
ℹ️ About CC0: The CC0 (Creative Commons Zero) license means you’re releasing your contributed photos into the public domain. This allows the Immich project (and anyone else) to use the images freely for any purpose. Make sure you only upload photos you own the rights to and are comfortable sharing publicly.
The agreement requires you to confirm two things:
You agree to release the uploaded assets under the CC0 license into the public domain
The files have not been modified in any way that would alter their original content or metadata
You also provide a contact email in case the Immich team has any questions about your upload.
Why Should You Contribute?
Contributing to the EXIF Dataset helps improve Immich in several ways:
Better Device Support: By collecting EXIF samples from many different cameras and phones, Immich can improve its parsing for devices that may have quirks or non-standard metadata encoding
Improved Metadata Extraction: The dataset helps identify edge cases and unusual metadata formats that might otherwise go unnoticed
Community-Driven Development: Your contribution directly influences the quality of an open-source project used by thousands of self-hosters worldwide
Supporting Privacy-Focused Software: Immich is a privacy-respecting alternative to cloud-based photo services like Google Photos – your contribution helps make it even better
Tips for Contributing
To make your contribution as valuable as possible:
Contribute from different devices: If you have photos from older cameras, different smartphone brands, or professional equipment, these are especially valuable
Keep metadata intact: Don’t strip or modify the EXIF data before uploading – the original metadata is exactly what’s needed
Consider variety: Photos taken in different conditions (indoor, outdoor, various lighting) may contain different metadata values
Check your ownership: Only contribute photos you’ve taken yourself or have explicit rights to share
About Immich
For those unfamiliar with Immich, it’s a high-performance, self-hosted photo and video management solution that offers features comparable to Google Photos – but with full control over your data. Key features include automatic backup from mobile devices, facial recognition, smart search, timeline views, shared albums, and much more.
Immich is developed under the AGPL-3.0 license and is backed by FUTO, an organization dedicated to developing privacy-preserving technology. The project has grown tremendously, with over 77,000 stars on GitHub, making it one of the most popular self-hosted applications available.
🏠 Self-Host Immich: Get started with Immich at immich.app – available for Docker, TrueNAS, Unraid, and other platforms.
Conclusion
Contributing to the Immich EXIF Dataset is a simple yet meaningful way to support open-source software development. The process takes just a few minutes, and your contribution will help improve photo management for the entire Immich community.